April 2023 Updates
Maintenance
We've released a new batch of updates to keep improving the Mind That platform and introduce new features to streamline the user experience. Bug fixes are also a top priority for this month's update. Highlights for this April update include work orders automatically completed when the system matches with a Xero bill, .csv Export bug fix, and hazard editor scrolling automatically to the new hazard row at the page's bottom.
Bug Fixes:
- .csv Export Bug - fixed a bug where the .csv spreadsheet file would show site names or vendor columns as a random date.
- Save button missing - When updating a log in image, the save button will not appear. The save button should now appear.
- Delete user from all workspaces - When deleting a user on a single workspace, the user will be deleted from all workspaces. This should now work as intended so that you only delete the user from the workspace you're currently updating.
Improvements and Changes:
Hazard Editor
- Adding a New Hazard will automatically scroll the editor to the bottom of the table for quick and easy editing.
Recurring Jobs
- Previously, the only way to trigger Recurring Jobs is when the Scheduled Job switch is toggled on. We've now removed the switch allowing any job type to be a scheduled job. You can do this by editing the work order, scrolling to the Recurring Jobs option and assigning a value from the dropdown menu.
Photo attachments on PDF Template

- Photo attachments can now be added to the Work Order PDF template by adding the {{image_gallery}} tag into the template. This will show as a 2x2 thumbnail grid within the PDF.
New Features:

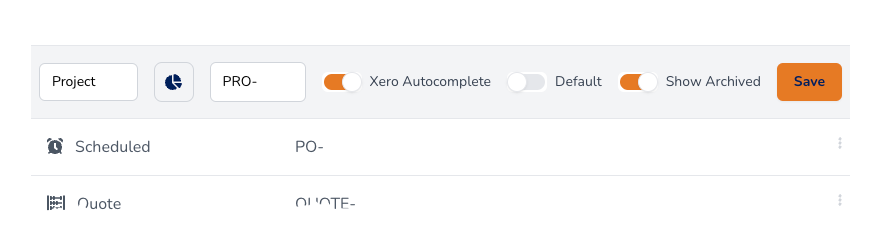
- You can now select which work orders are automatically completed by job type when the system automatically matches with a Xero bill (Previously, all work orders matching a Xero bill would be automatically marked as completed). To do this, go to Settings -> Jobs -> Job types and select the Xero Autocomplete switch to on.